
Last updated October 17, 2026
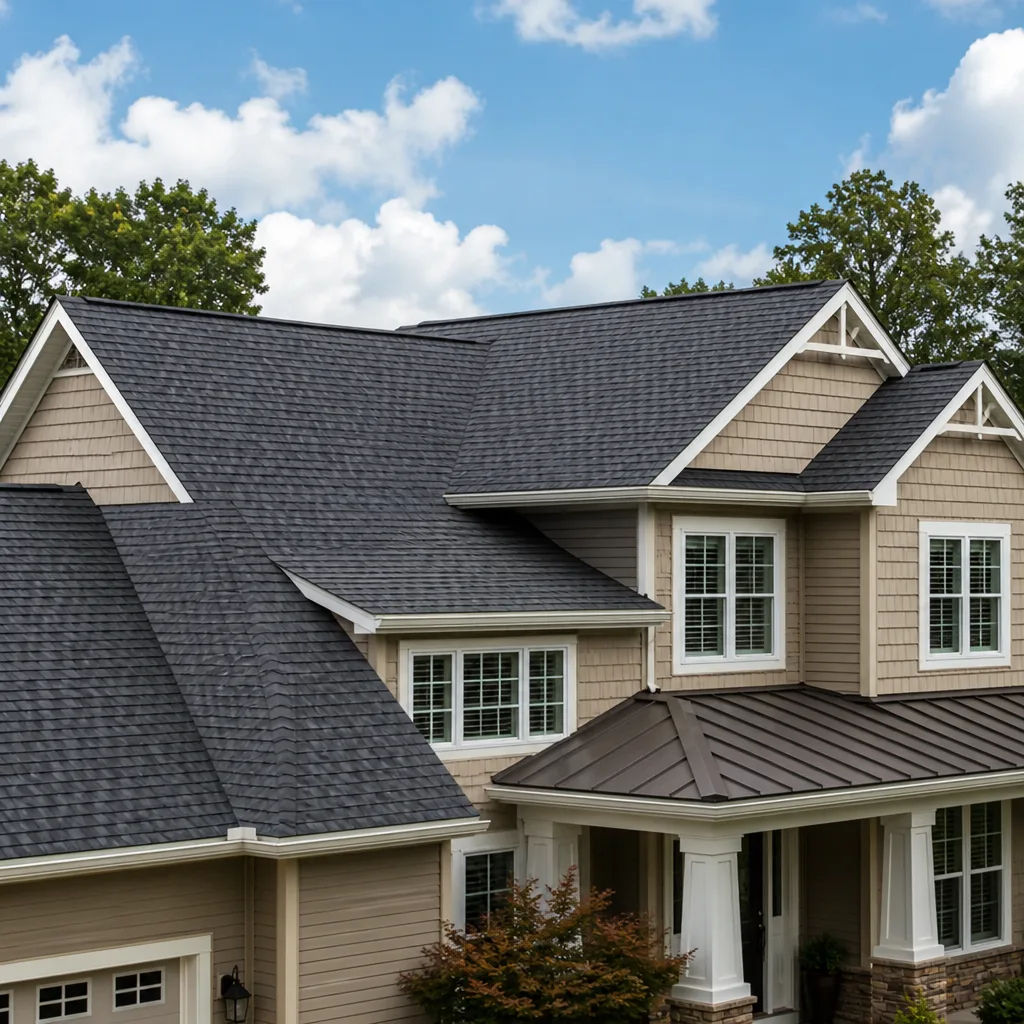
 Metal roofing
 Architectural shingles
 Tile roofing
 GAF
GAF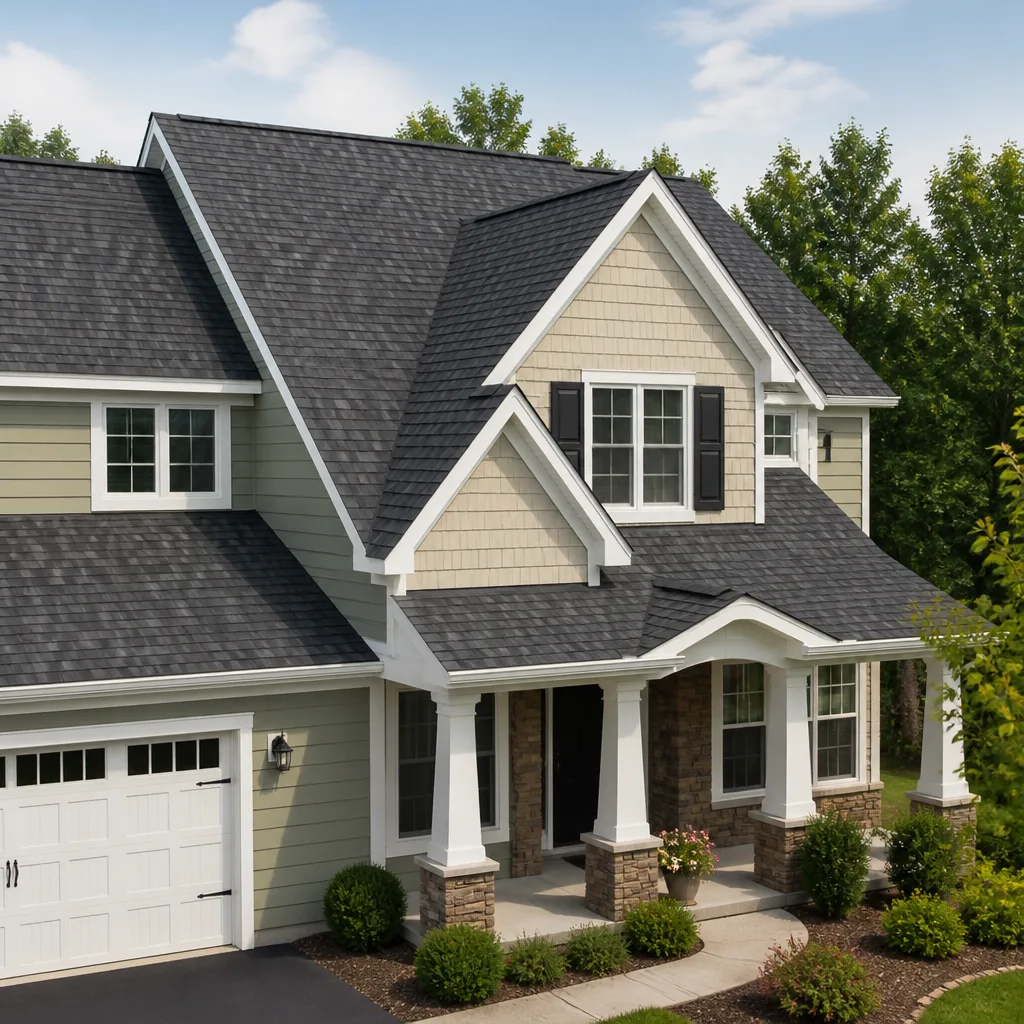 Owens Corning
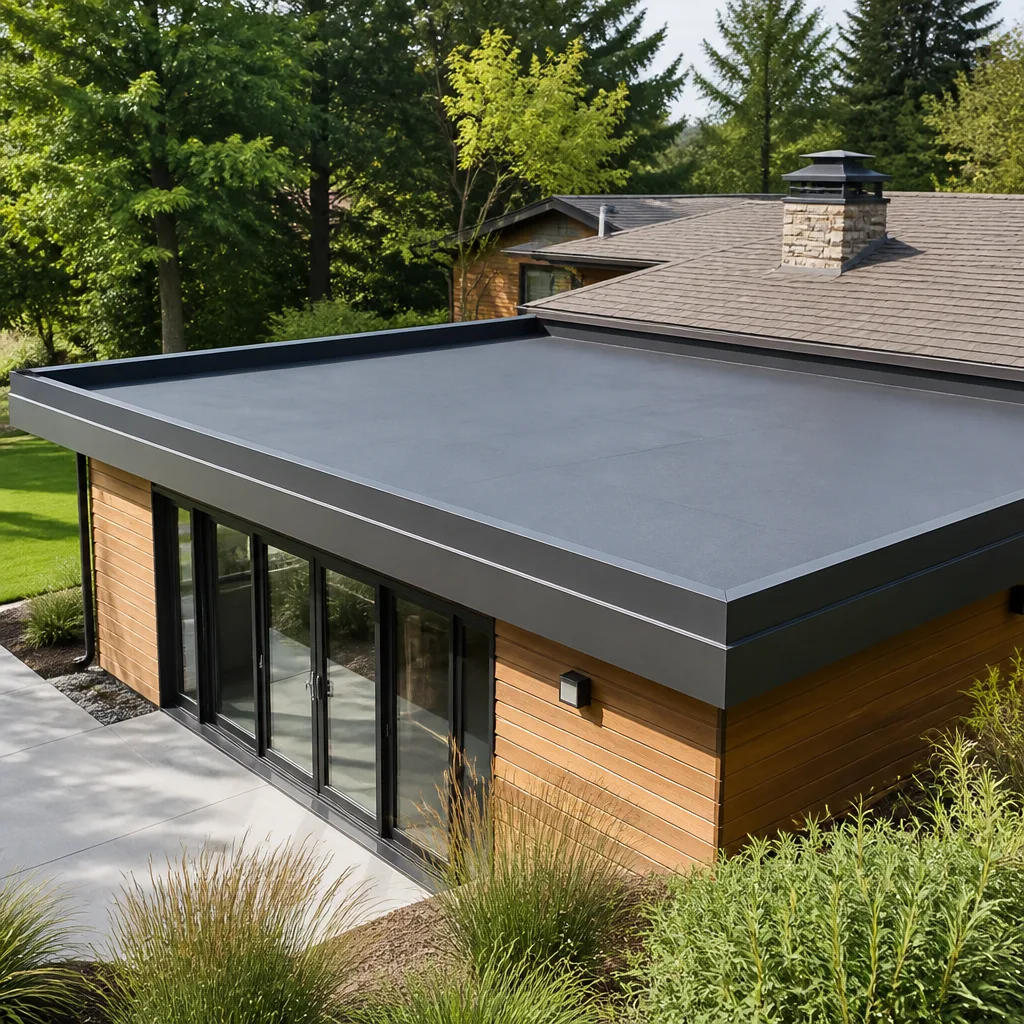 Flat & low-slope
Free roof inspection with deck photos before we talk money - GAF and Owens Corning certified installation
DIY vs Professional Roofing: The San Antonio Homeowner’s Decision Guide
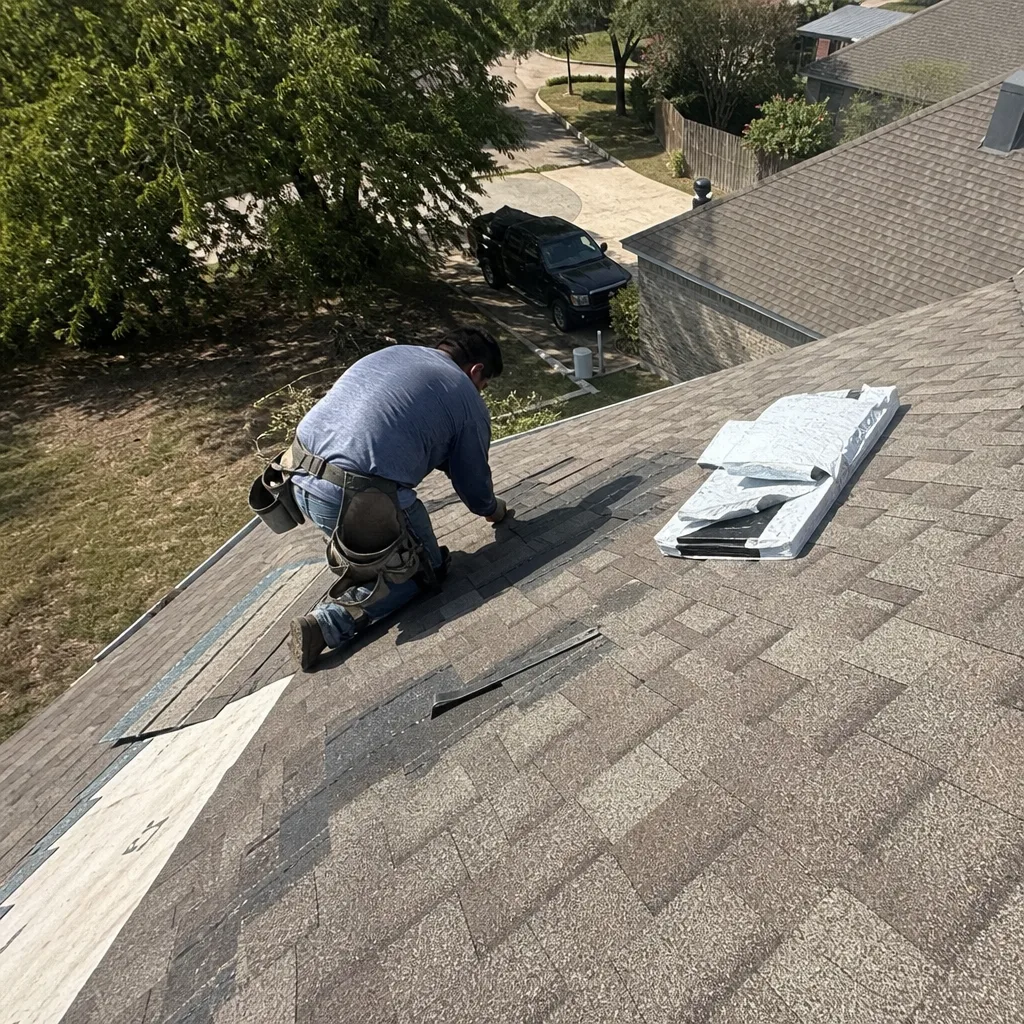
A homeowner who re-nails a loose shingle themselves saves $200 and keeps their warranty intact. A homeowner who relays a valley with the wrong overlap pattern voids it entirely, and the two repairs look nearly identical from the ground. San Antonio’s climate makes this distinction sharper than in most cities: our heat, our hail, and our building codes all interact with roofing work in ways that don’t show up for months or even years after the ladder comes down. This guide-along with our more guides & resources-walks through which roofing tasks a capable homeowner can reasonably take on, which ones create hidden liabilities, and what it actually costs to get it wrong. You’ll learn the specific repairs that are safe to do yourself in San Antonio, the ones that aren’t, how Texas law and manufacturer warranties treat DIY work, and what our roof surface temperatures mean for anyone thinking about a July afternoon project.
Styles & brands we work with
Quick Answer
Most San Antonio homeowners can safely handle three specific repairs: resealing a lifted shingle tab, clearing a blocked soffit vent, and replacing a single cracked pipe boot cover. Everything else involving flashing, valleys, penetrations, or full shingle replacement carries warranty implications, permit considerations, and safety risks that usually make professional repair the less expensive option over the roof’s lifetime. When in doubt, a professional inspection costs far less than a voided warranty.
Table of Contents
- What’s Actually DIY-Safe on a San Antonio Roof
- The Repairs That Fool Homeowners
- Warranty and Legal Reality: What DIY Does to Your Coverage
- The Real Cost Comparison: DIY vs Professional
- San Antonio Heat Safety: The 160°F Problem
- San Antonio Building Codes and Permit Requirements
- What You’ll Actually Need: Tools, Materials, and Time
- Common Mistakes to Avoid
- When to Call a Professional
- Frequently Asked Questions
- The Bottom Line
What’s Actually DIY-Safe on a San Antonio Roof
Let’s be direct about this: the list of genuinely safe DIY roofing repairs is short. Not because homeowners lack skill, but because most roofing failures that look simple from the ground involve layers of flashing, underlayment, and fastener patterns that only reveal themselves once you’re up there. In our years working on roof repair in San Antonio, we’ve seen three repairs that a careful homeowner can complete without compromising their roof’s integrity or their warranty:
- Resealing a lifted shingle tab. San Antonio’s summer heat softens the adhesive strip on asphalt shingles. Sometimes a tab lifts but the shingle itself is undamaged. If the tab is intact and the shingle isn’t cracked, a small dab of roofing cement under the tab, pressed down firmly, is a legitimate fix. This is the one repair that costs about $12 in materials and doesn’t touch the roof’s water-shedding system.
- Clearing a blocked soffit vent. Soffit vents pull air into your attic. In San Antonio, oak pollen and dust accumulate quickly. If you can reach the vent from a ladder without getting onto the roof itself, clearing debris is safe and straightforward. You’re not altering the roof system; you’re restoring airflow.
- Replacing a single cracked pipe boot cover. Pipe boots are the rubber collars that seal around vent pipes. They crack after 10-15 years of San Antonio sun exposure. The replacement part costs $10-25 at any local supply house. The repair requires sliding a new boot over the pipe without lifting the surrounding shingles. If the shingles around the pipe are in good condition, this is doable. If they’re brittle or lifting, stop and call someone.
What these three repairs share: they don’t require removing existing shingles, they don’t disturb the underlayment, and they don’t involve flashing against walls or valleys. That’s the line. Once you cross into removing shingles, you’re in different territory.
The Repairs That Fool Homeowners
Some roofing work looks simple because it’s small. A 12-inch section of step flashing against a chimney. A valley that’s leaking at one spot. A pipe penetration with a cracked boot. These are precisely the repairs that go wrong in ways that don’t appear until the next heavy rain or the next hailstorm.
Valley flashing. Valleys channel more water than any other part of the roof. The overlap pattern matters. The underlayment beneath the valley matters more. A homeowner who relays a valley with the wrong shingle overlap creates a water path that works fine during light rain and fails catastrophically during a San Antonio thunderstorm. The failure point is usually not in the valley itself but where the valley spills onto the eave or against an exterior wall. From the ground, the work looks identical to professional work. Inside the wall cavity, water is migrating.
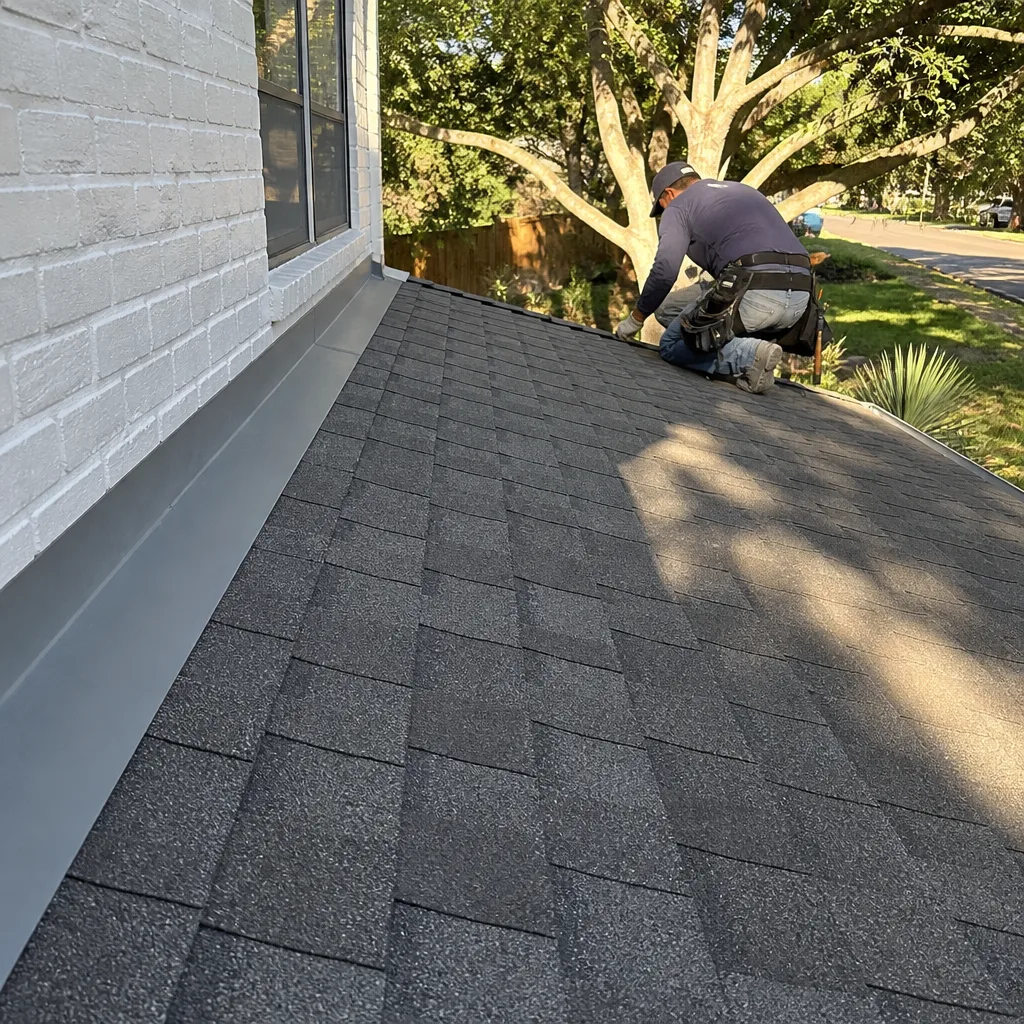
Step flashing against walls. Step flashing is the L-shaped metal that tucks under each shingle course and behind the siding where the roof meets a vertical wall. Installing or repairing step flashing requires removing shingles, checking the existing flashing for corrosion, and ensuring each piece overlaps the one below by at least 2 inches. Miss one piece, or install one piece behind the siding incorrectly, and water follows the wall into the house. We’ve repaired walls in Alamo Heights and Stone Oak where DIY step flashing failed within six months.
Any work within 12 inches of a penetration. Penetrations include pipes, vents, skylights, chimneys, and roof-mounted HVAC units. Every penetration is a potential leak point, and the flashing around them works as a system, not a single piece. When a homeowner replaces a shingle near a penetration without understanding how the flashing layers beneath it, they create a new leak point. The repair looks fine. It isn’t.
These aren’t skill problems. They’re information problems. The homeowner doing a reasonable job on a valley doesn’t know that the underlayment has a 4-inch gap from the original install. None of this is visible from the roof surface.
Warranty and Legal Reality: What DIY Does to Your Coverage
Here’s the section most guides skip, and it’s the most expensive part of the DIY decision in San Antonio.
Manufacturer warranties from GAF, CertainTeed, and Owens Corning all contain language requiring installation by a trained professional following the manufacturer’s published installation specifications. The exact wording varies, but the substance is consistent: if the shingles were not installed according to spec, the manufacturer’s material warranty is void for that section of the roof. A homeowner who lifts shingles to repair flashing and re-nails them in the wrong location has now altered the roof from its original installation.
Here’s what that means practically:
- Material defects stay covered. If a shingle fails due to a manufacturing defect, the warranty generally still applies, even if a homeowner did unrelated DIY work elsewhere on the roof.
- Workmanship-related failures are not covered. If the leak originates at or near the area where DIY work occurred, the manufacturer will deny the claim. The homeowner now pays for the full repair out of pocket.
- Texas law adds another layer. Texas property code and the Texas Deceptive Trade Practices Act govern how roofing warranties are communicated and honored. A contractor who performs work in Texas must be registered with the state in certain jurisdictions, and many San Antonio municipalities require permits for any roofing work beyond basic repair. DIY work that requires a permit and doesn’t get one creates a disclosure issue when you sell the home.
The warranty question isn’t always about the specific shingle you touched. If you re-nail loose shingles on one side of the roof and six months later a leak develops in the same roof plane, the manufacturer’s adjuster will look at the whole plane. If they see homeowner-driven fasteners, they may deny the entire claim. The work looked identical from the ground. The warranty difference is not visible at all.
For a full roof replacement in San Antonio, warranty implications are even more direct: most manufacturer warranties require that the roof be installed by a contractor certified with that manufacturer. A homeowner-installed roof has no manufacturer workmanship guarantee of any kind.
The Real Cost Comparison: DIY vs Professional
DIY roofing looks cheaper on the front end. It’s often more expensive once you account for what happens when the repair doesn’t hold. Here’s a realistic cost comparison for San Antonio, based on the current market for materials and labor:
- Resealing a lifted shingle tab: DIY cost is roughly $12 for roofing cement and a putty knife. Professional cost is $150-250 for a service call. This is the one repair where DIY genuinely wins, assuming you can reach the tab safely.
- Replacing a cracked pipe boot: DIY cost is $25-40 for the boot and roofing cement. Professional cost is $200-350 including the boot, sealant, and labor. DIY wins if the surrounding shingles are healthy.
- Relaying a valley: DIY materials run $100-200 for shingles, underlayment, and flashing. If the DIY valley fails, the professional repair costs $800-1,500, and the wall or ceiling damage adds another $500-3,000 depending on what got wet. The professional valley from the start costs $600-1,200. The math isn’t close.
- Repairing step flashing against a wall: DIY materials run $80-150. If it fails, the wall repair, insulation, drywall, and re-flashing cost $1,200-3,500. Professional step flashing repair from the start runs $400-900.
- Partial shingle replacement after hail: DIY materials for a 10-square-foot section run $60-120. If the underlayment was damaged by the same hail and you don’t replace it, the next leak costs $700-1,800 to repair properly.
The pattern is consistent: DIY wins when the repair doesn’t touch the water-shedding system. DIY loses badly when it does, because the professional repair of a failed DIY job costs more than the professional repair would have cost originally. You pay for the DIY materials, then you pay the professional anyway, and you pay for the damage in between.
One more cost most guides omit: your time. A first-time DIY roofing project in San Antonio takes a full weekend, multiple trips for materials, and usually a second weekend when something doesn’t fit the way the video showed. Our team completes most repairs in under a day, with a written price before we start, shoe covers and drop cloths through the house, and a photo of the completed clean-up before the crew leaves.
San Antonio Heat Safety: The 160°F Problem
In July and August, the surface temperature of a San Antonio asphalt shingle roof reaches 160°F or higher. This isn’t an exaggeration, it’s measured, and it changes the entire DIY calculus for anyone without roofing-specific experience.
At 160°F surface temperature:
- Asphalt shingles are at their most brittle and most easily damaged by foot traffic. The granules strip off more easily, and the shingle can crack under concentrated weight.
- Roofing cement behaves differently. It skins over faster, which means a homeowner working slowly gets worse adhesion than a crew working quickly with the right tools.
- Fall protection equipment is non-negotiable. A 160°F surface on a 6/12 pitch means a stumble becomes a slide, and a slide becomes a fall. The Centers for Disease Control and Prevention reports that falls remain a leading cause of unintentional injury death among homeowners doing household maintenance.
- The heat itself is dangerous. Professionals working on San Antonio roofs in summer use hydration schedules, start early or work late, and rotate crew members. A homeowner working alone has no rotation and no protocol.
We do not recommend any DIY roof work in San Antonio between June and September. The window for safe DIY work is roughly October through April, when surface temperatures stay below 120°F and shingles are more forgiving. Even then, if you’re working alone, tell someone you’re on the roof and set a check-in time.
One of the quiet advantages of professional work in a city like San Antonio: we’re used to the heat. Our crews plan around it. They carry hydration. They know when to stop. A homeowner determined to finish the job will push through heat exhaustion symptoms that would send a professional off the roof.
San Antonio Building Codes and Permit Requirements
San Antonio operates under its own adopted building and residential codes, which include specific provisions for roofing work. The key distinction for homeowners: repairs are treated differently from replacements.
Minor repairs (resealing a shingle tab, replacing a pipe boot, clearing a vent) generally do not require a permit in San Antonio. The city treats these as maintenance rather than construction.
Major repairs and replacements do require permits. If you’re replacing a roof section larger than one square (100 square feet), or altering the roof structure in any way, the city expects a permit. A full roof replacement requires both a permit and an inspection. The permit process exists to verify that the work meets current code, including wind uplift requirements specific to our region. San Antonio sits in a wind zone that requires specific nailing patterns and fastener counts per shingle. Install too few nails, and your roof fails the inspection. More importantly, your roof fails the next time a strong storm front pushes through.
When a professional roofer pulls the permit, the inspection is scheduled, and the inspector verifies the work. When a homeowner does the work without a permit, there’s no inspection, and any code violations remain hidden until the roof fails or until a home inspector flags it during a future sale.
The permit issue also affects insurance. If a homeowner-installed roof is damaged by a storm and the insurance adjuster discovers the installation didn’t meet code requirements, the claim can be reduced or denied. This is a San Antonio-specific risk because our hail and wind events trigger more roofing claims than almost any other city in Texas.
What You’ll Actually Need: Tools, Materials, and Time
If you’re considering hiring instead, read our How to Hire a Roofing Contractor in San Antonio: A Step-by-Step Guide. If you’ve read this far and you’re still planning to tackle one of the three DIY-safe repairs, here’s what you’ll actually need, including the things most guides leave out:
For resealing a lifted shingle tab:
- Roofing cement (a tube is easier than a bucket for first-timers)
- A flat putty knife or caulk gun
- Safety glasses
- A sturdy extension ladder that extends at least 3 feet past the roof edge
- Non-slip shoes with soft soles
- A second person to foot the ladder
For clearing a soffit vent:
- A ladder tall enough to reach the soffit (usually 8-12 feet)
- Work gloves
- A vacuum with a brush attachment or a long-handled brush
- Safety glasses and a dust mask (soffits hold decades of pollen and dust)
For replacing a pipe boot:
- The new boot, sized to the pipe diameter (most are 1.5 or 3 inches)
- Roofing cement
- A flat pry bar to gently lift the shingles around the pipe
- A hammer and roofing nails
- Safety glasses and gloves
Total material cost for all three repairs together: roughly $75-150. Total time for a first-timer doing all three: one full day, assuming no complications. Total value: about $500-600 in avoided professional service calls, which is real money. Just understand that the value comes from doing these specific repairs correctly and stopping there.
We work with materials from GAF, CertainTeed, and Owens Corning, and one thing these manufacturers consistently recommend: any repair involving shingle removal should be handled by someone familiar with the manufacturer’s installation spec. It’s not gatekeeping. It’s that the spec exists for a reason, and San Antonio’s climate exposes every shortcut.
Common Mistakes to Avoid
- Using the wrong nails. Roofing nails are not interchangeable with standard nails. Using non-roofing nails on shingles voids the manufacturer’s wind warranty and creates rust streaks. If the nail head isn’t flush with the shingle surface without breaking the granule layer, it’s wrong.
- Working on a hot roof. Between June and September in San Antonio, a roof surface hot enough to fry an egg will also strip granules from shingles and cause heat illness in a homeowner working alone. Wait for cooler months.
- Sealing cracked shingles instead of replacing them. Roofing cement is not a structural repair. If a shingle is cracked, the crack continues to expand through thermal cycling. Cement masks the problem and makes the eventual repair more difficult.
- Putting roofing cement on a valley. Valleys are designed to channel water. Adding cement creates a dam that forces water sideways under adjacent shingles. The leak moves and gets worse.
- Ignoring the underlayment. The shingles you see are not the waterproofing layer. In San Antonio, the underlayment matters as much as the visible material. Any DIY repair that removes shingles without checking the underlayment beneath is incomplete.
- Not documenting the work. If you do a DIY repair, photograph before, during, and after. If a warranty claim arises later, your documentation can protect the rest of your roof from an adjuster’s blanket denial.
- Thinking you’ll catch a problem early. Most DIY roofing failures in San Antonio don’t show up as a visible leak. They show up as water staining on a ceiling, mold in a wall cavity, or a failed inspection during a home sale. By the time you see it, the repair is expensive.
When to Call a Professional
Call a professional if the repair involves valley flashing, step flashing, any penetration within 12 inches, any section larger than a single shingle, or any work you can’t reach from a ladder without climbing onto the roof surface. Call a professional if the roof is more than 15 years old, because the existing materials may not tolerate even careful DIY work. Call a professional if you’re not sure what’s wrong, because exploratory roofing work without the right knowledge creates problems where none existed. Birchbark Roofing San Antonio offers free estimates throughout the San Antonio area, with a written price before any work starts, never negotiated away. Call (903) 354-7802, and a live person answers, day or night.
Frequently Asked Questions
Yes, for minor maintenance like resealing a lifted shingle tab or clearing a blocked vent. No, for any repair that involves removing shingles or touching flashing, valleys, or penetrations. Manufacturer warranties from GAF, CertainTeed, and Owens Corning require professional installation to spec for any work that alters the roof system, and DIY work near a later failure point gives the manufacturer grounds to deny the claim.
Most San Antonio roof repairs run between $200 and $1,200 depending on scope. Minor repairs like pipe boots and shingle tabs cost $150-350. Flashings and valleys cost $600-1,200. Larger sections and structural repairs exceed that. You’ll see your exact number in writing before any work starts, which is standard practice at our roofing company in San Antonio.
Yes, for minor repairs that don’t require a permit. Larger repairs and full replacements require city permits and inspections, and the city expects a licensed contractor on permitted work. Doing permitted work without a permit creates disclosure problems when you sell the home and gives your insurer grounds to deny storm claims.
Three repairs are genuinely DIY-safe in San Antonio: resealing a lifted shingle tab, clearing a blocked soffit vent from a ladder, and replacing a single cracked pipe boot cover with healthy surrounding shingles. These repairs don’t remove shingles, don’t disturb underlayment, and don’t touch flashing.
Roof surface temperatures in San Antonio exceed 160°F in July and August. At that temperature, shingles are brittle and easily damaged, roofing cement behaves unpredictably, and heat illness becomes a serious risk for anyone working without a hydration protocol. We recommend against any DIY roof work between June and September.
It can. A home inspector who identifies homeowner-installed roofing work, especially unpermitted work on a larger repair, will flag it. The buyer’s lender may then require the work to be corrected by a licensed contractor before closing. The correction often costs more than the original professional repair would have cost.
The Bottom Line
The DIY roofing decision in San Antonio comes down to this: if the repair is small, visible, and doesn’t disturb the water-shedding system, a careful homeowner can handle it with a few tools and a cool-weather window. If the repair touches flashing, valleys, underlayment, or anything within a foot of a penetration, the hidden costs of getting it wrong dwarf the visible savings of doing it yourself. Manufacturer warranties, city permits, and Texas insurance realities all push in the same direction. And in a city where roof surface temperatures hit 160°F, there’s no version of this where July DIY work is a good idea. If you’re not sure which side of the line your repair falls on, call for a professional assessment. It costs nothing to know where you stand.
If you’re weighing DIY against professional work on your San Antonio home, call Birchbark Roofing San Antonio at (903) 354-7802. We’ll give you an honest read on what needs attention, a written price before any work starts, and a clear recommendation on what you can safely handle yourself. No pressure, no risk, and a live person answers the phone.
Written by Erik Lindgren, Owner at Birchbark Roofing San Antonio, serving San Antonio since 2000.
See the difference
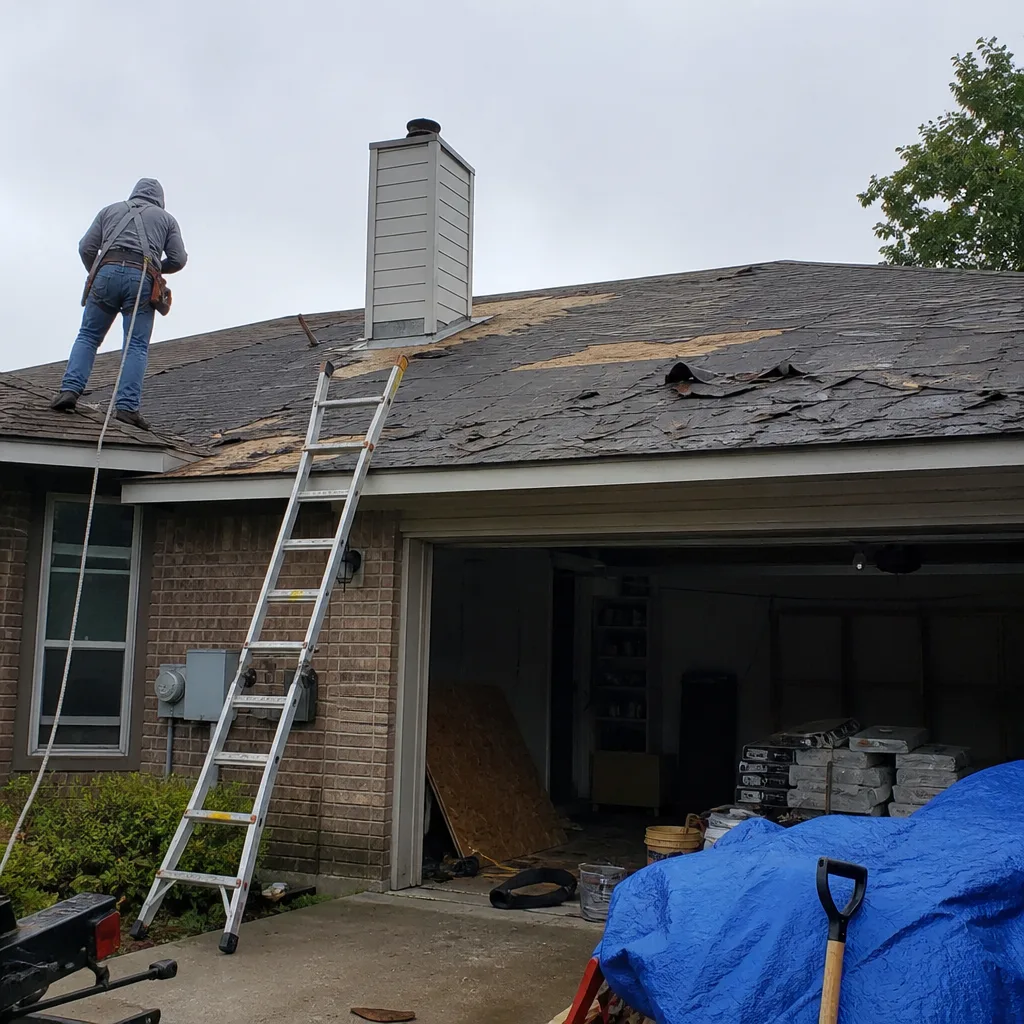 Before
 After
After Before
 After
After Before
 After
After